
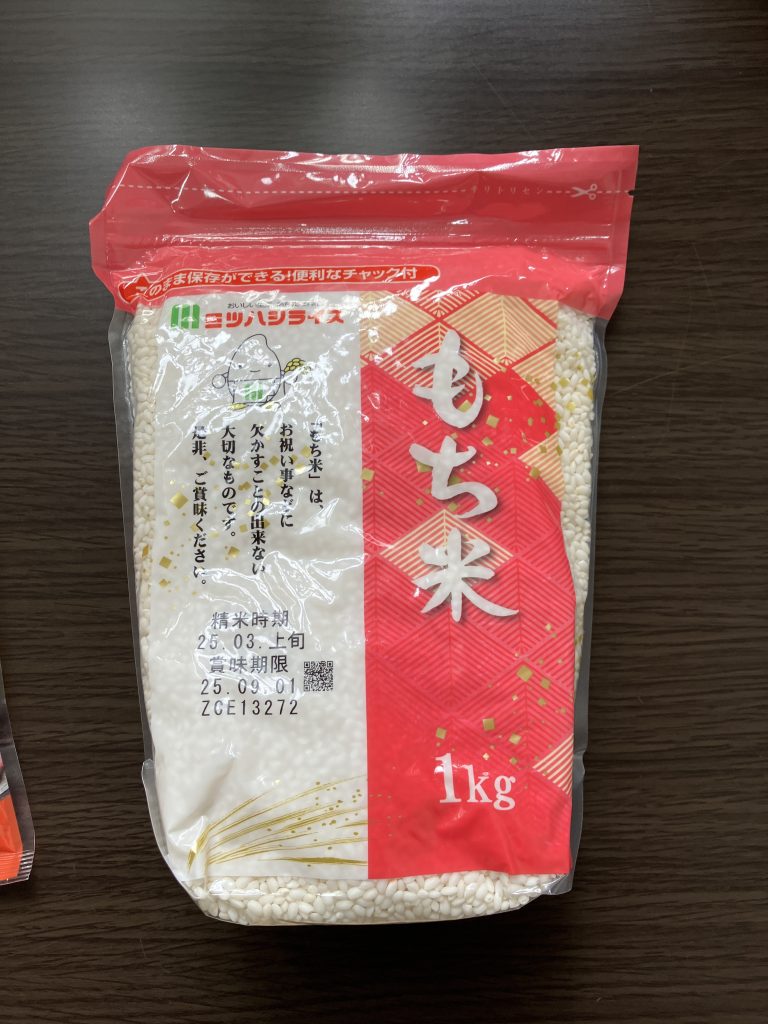
- Glutinous rice
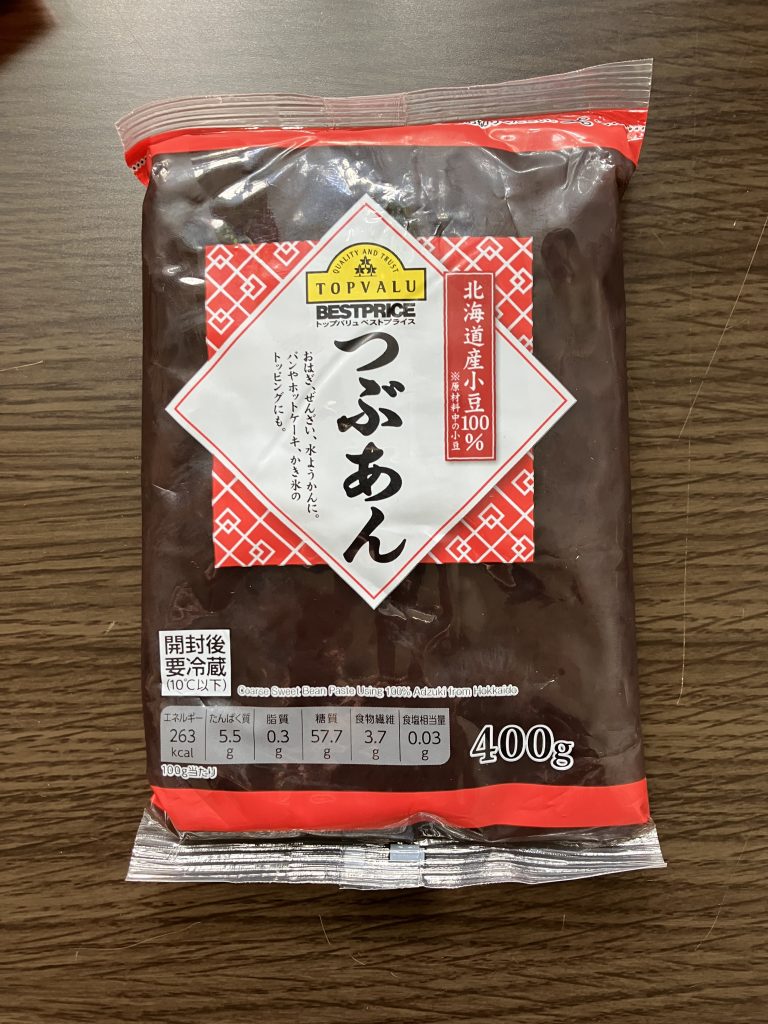
- Anko (sweet red bean paste)
- Wash the glutinous rice.
- Soak the rice in water for 1 hour.
- Steam the rice for 15 minutes.
- Mash the rice slightly.
- Shape the rice into balls of your preferred size.
- Coat with anko, and it’s done!
I made Ohagi, a traditional Japanese sweet rice ball – No rice cooker needed!
Hello, this is Kimura from northern Tokyo. Recently, I’ve been browsing Reddit in the U.S. On Reddit, there are many people interested in Japanese food, which is really fun to see. I often come across opinions that surprise me—ohagi (sweet rice balls) is one of them. I assumed no one would be interested, but to my surprise, some people absolutely love it!
Apparently, there are Japanese grocery stores in the U.S., so it might be possible to find ohagi there. But then again, maybe not. If that’s the case, why not make it at home?
I’m not a professional cook, but I decided to try making ohagi, and it turned out better than I expected! Since I’m not sure if people overseas have rice cookers, I used a method that might be more accessible.
Preparing Ohagi
First, let’s talk about ingredients. There are two essential ones:
The rice used here is different from regular Japanese table rice. Glutinous rice becomes sticky when cooked—it’s also what mochi (rice cakes) are made from. Anko is made by boiling azuki beans with sugar and turning them into a paste. You can make it yourself from scratch, but that can be a hassle. So, the key question is whether pre-made anko is available locally.
Now, let’s consider cooking utensils. In Japan, most people have rice cookers, which make cooking rice easy. However, not everyone overseas has one.

Traditionally, ohagi rice is steamed rather than boiled, which requires a steaming pot. But since I don’t have one either, I used a regular pot and a metal strainer instead. This setup is something many households probably have.
Let’s Make Ohagi!
Here’s a quick summary of the process:
Now, let’s go step by step.
1. Washing the Rice
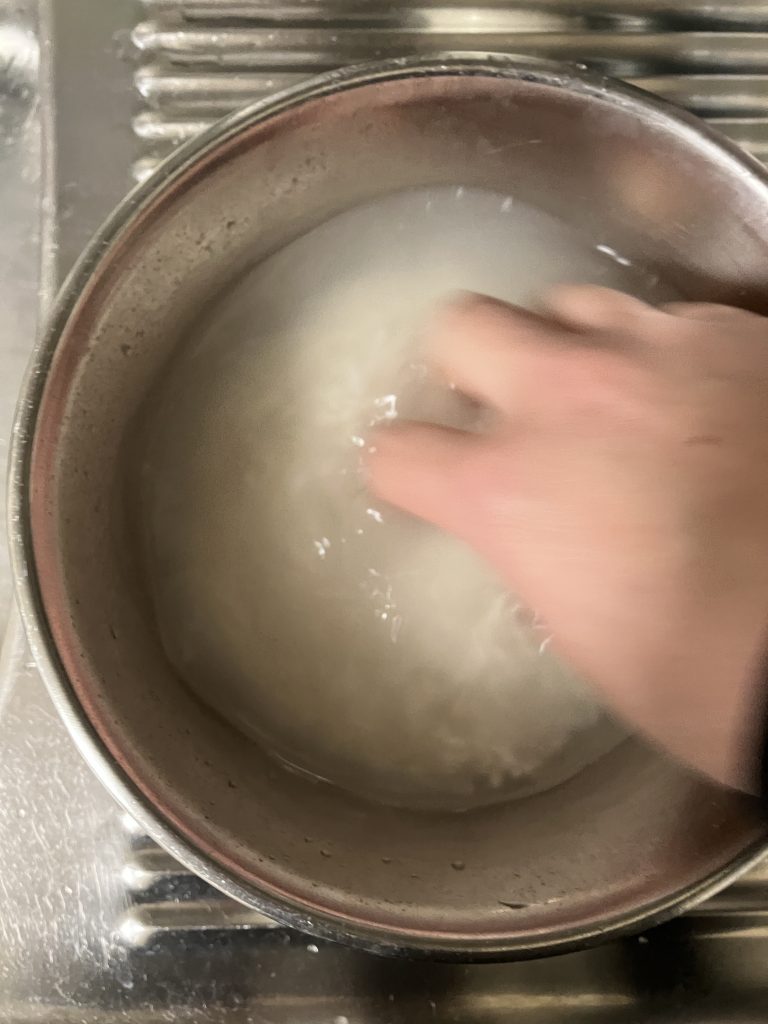
In Japan, we say “togu” (研ぐ) when washing rice. This means rubbing the grains together in a bowl of water. When the water gets cloudy, drain it and repeat with fresh water.
Be careful not to let the rice spill out!
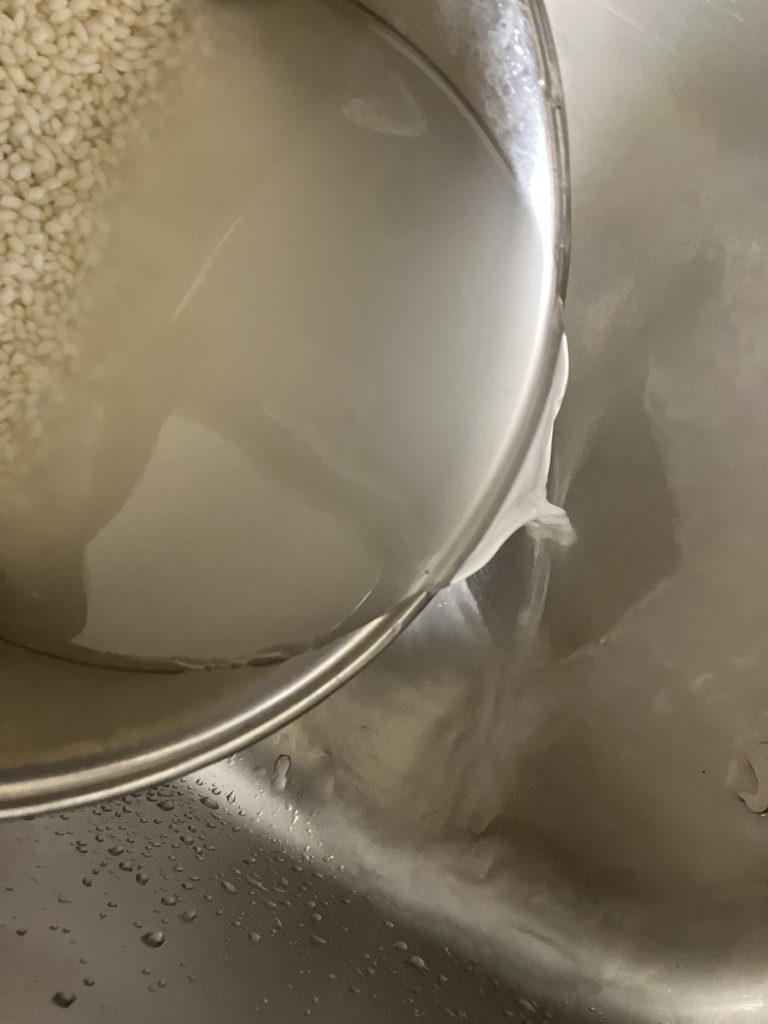
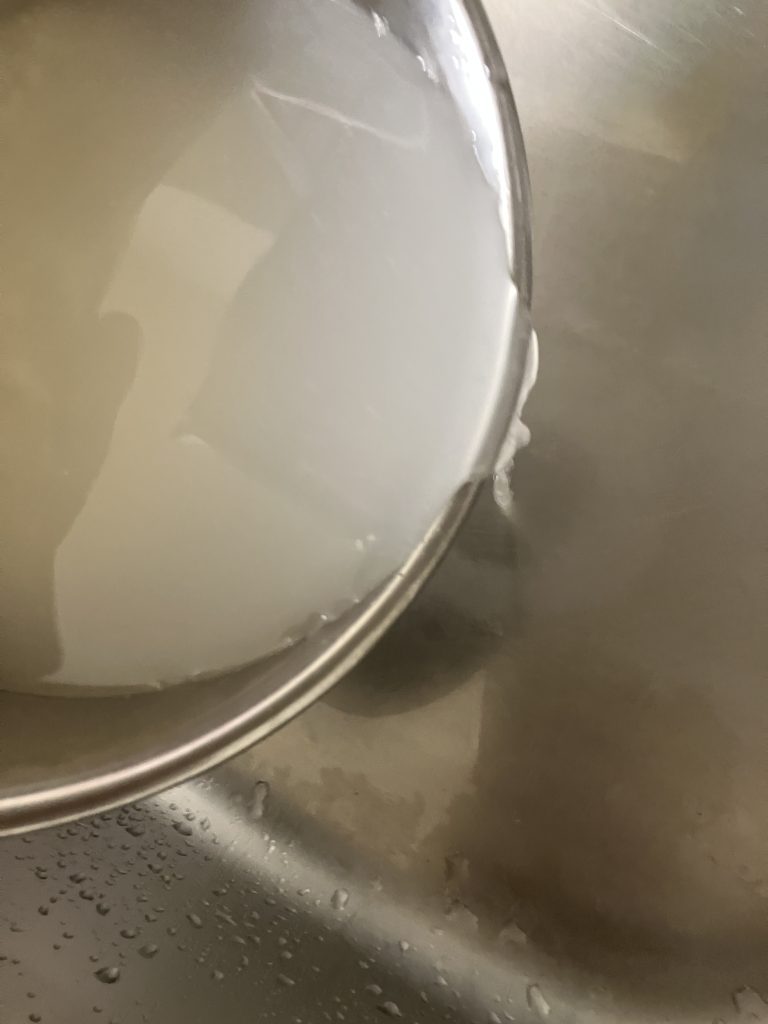
After about three rounds, the water becomes clearer, and the rice is ready.
2. Soaking the Rice
Next, soak the rice in water for an hour.
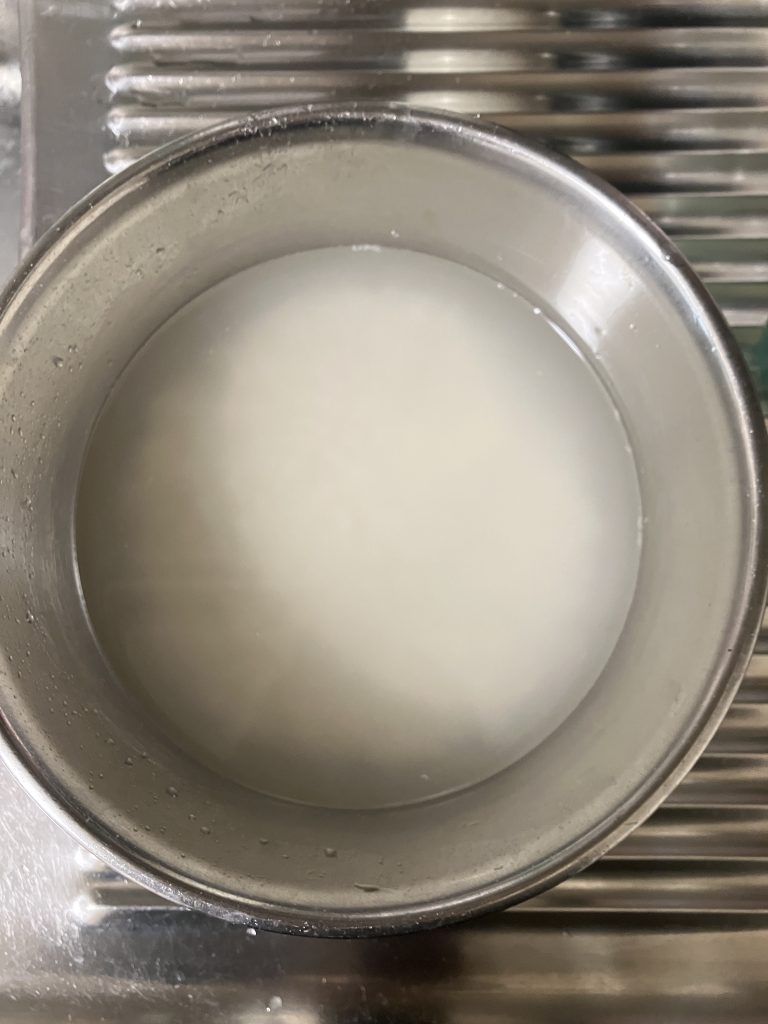
After an hour, drain the water and let the rice sit for about 10 minutes to remove excess moisture.
3. Steaming the Rice
Boil water in a pot.
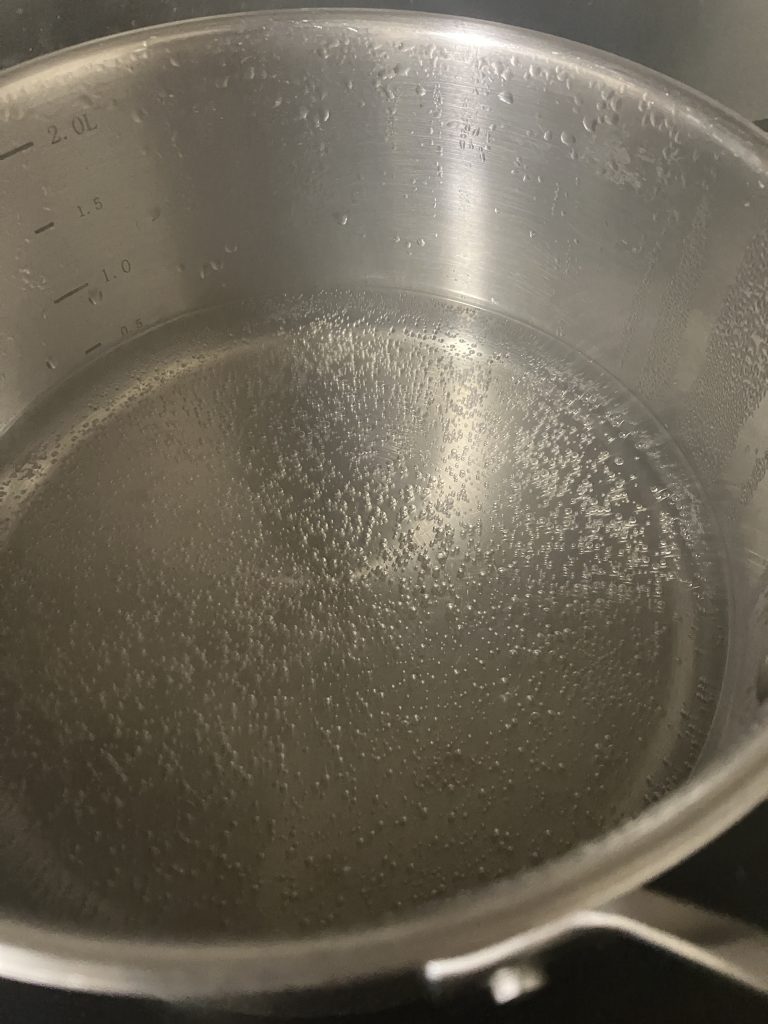
Water level is important here: place a strainer inside the pot, but make sure the water does not touch the rice.
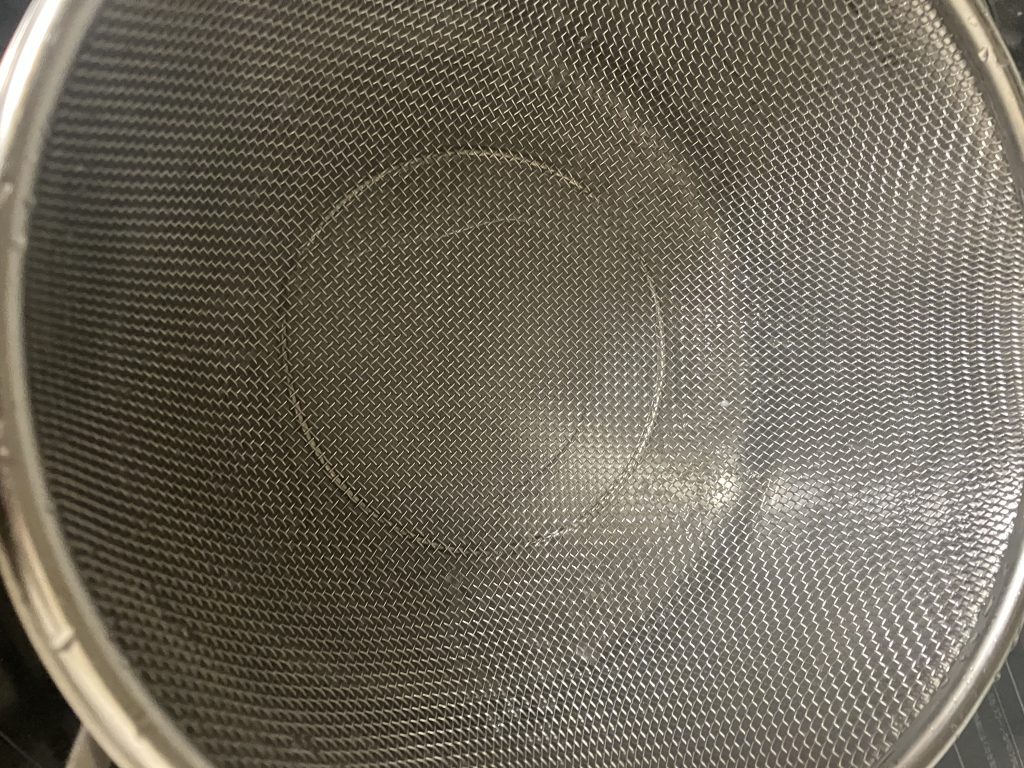
The goal is to cook it with steam, not by boiling. In Japanese, this process is called musu (蒸す).
Once the water is boiling and steam starts rising, place the rice in the strainer. I lined the strainer with parchment paper to prevent the rice from sticking. Cover the pot with a lid so the steam fills the space inside.
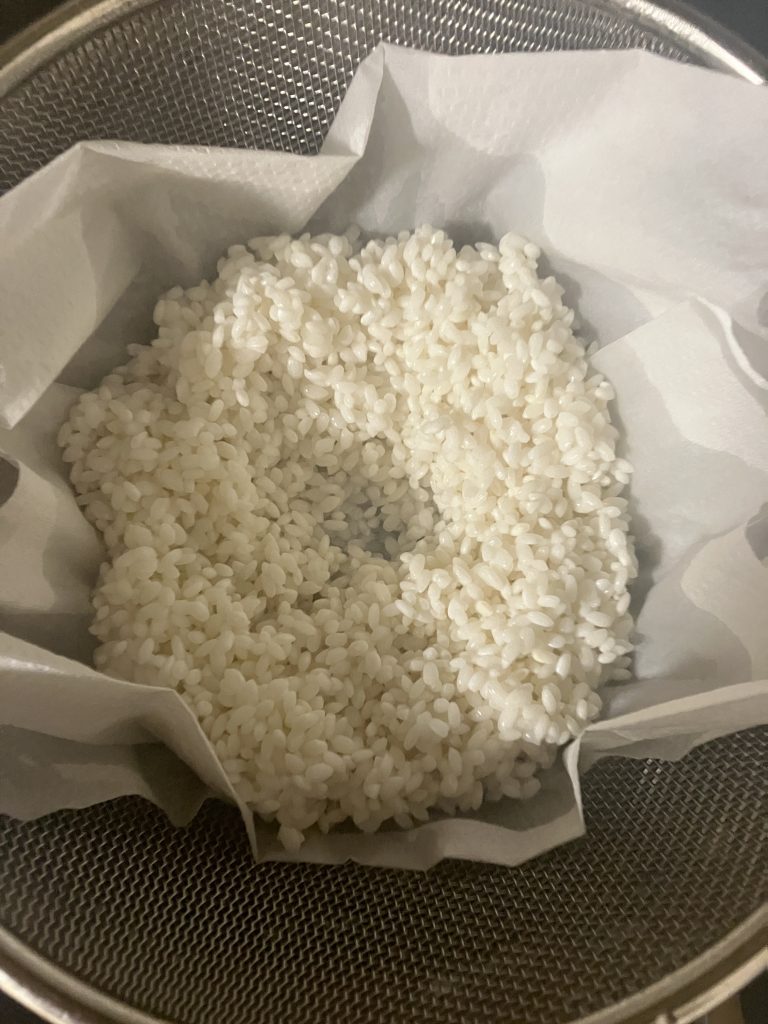
Let it steam for 15 minutes.
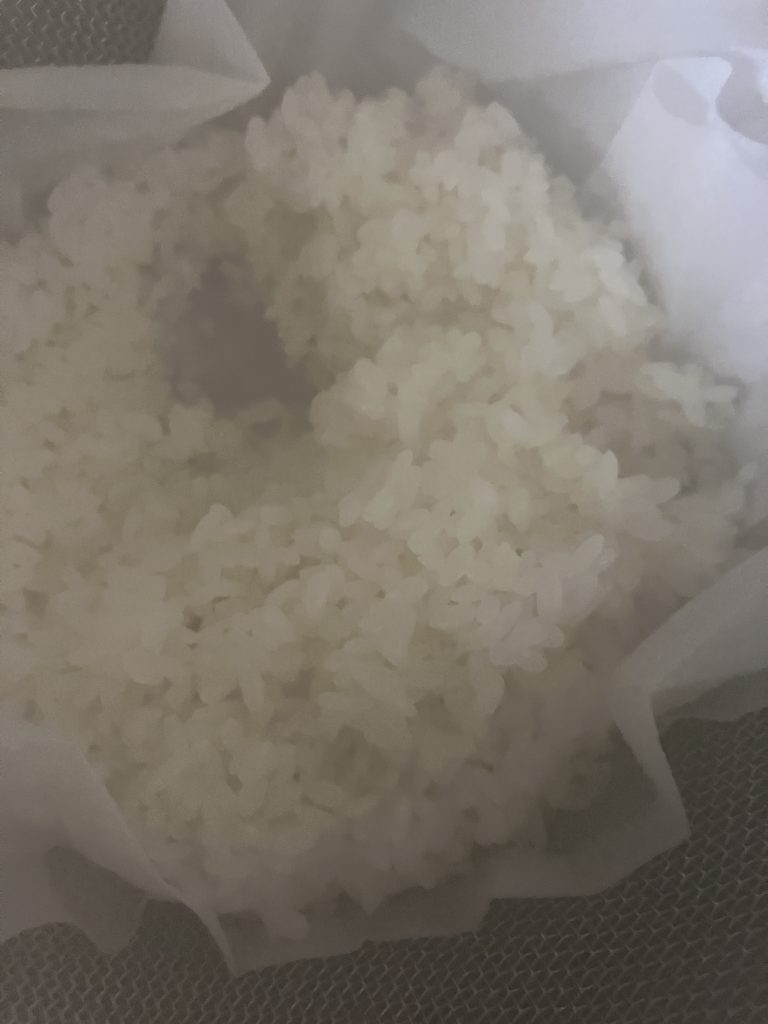
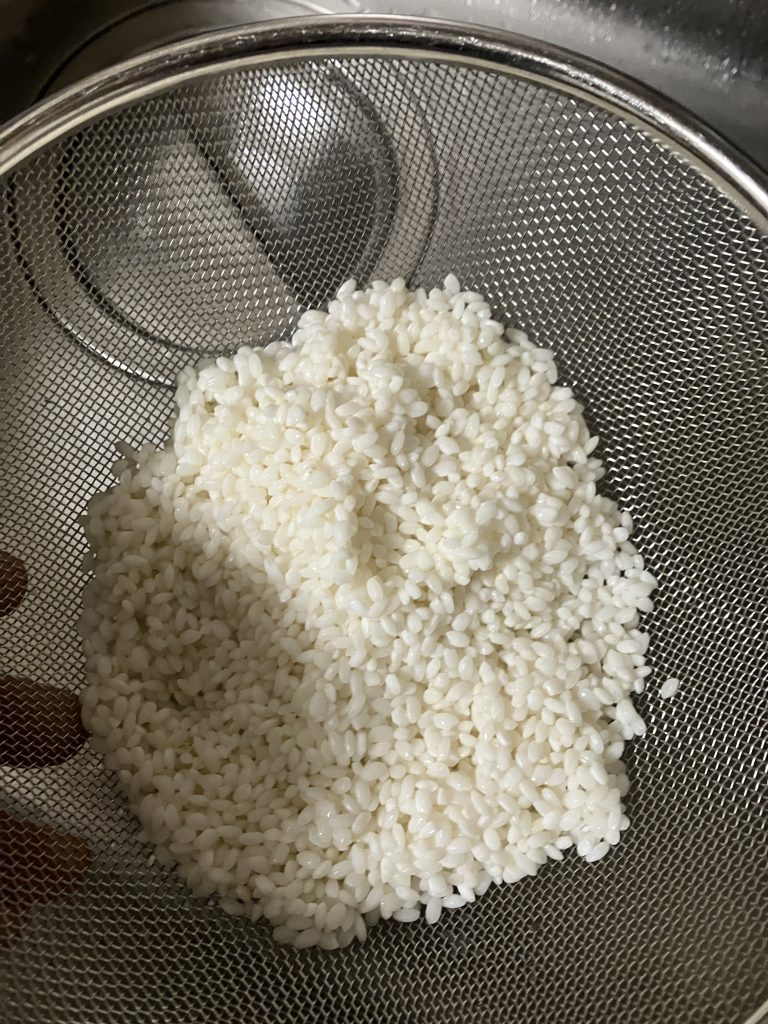
When you lift the lid, you’ll see fluffy steamed rice! If it still feels a bit firm, steam it a little longer.
4. Mashing the Rice
The rice is already tasty at this stage, but mashing it slightly increases its stickiness. Be careful not to overdo it—otherwise, it’ll turn into mochi!
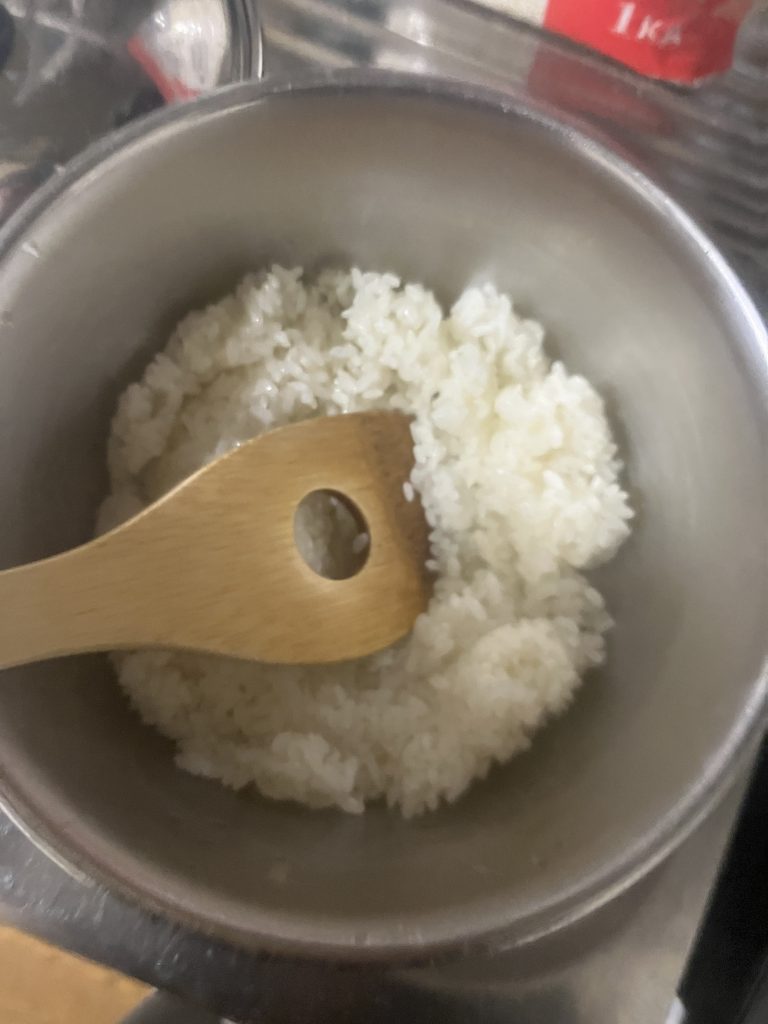
Since I don’t have a proper tool for mashing, I used a spatula.
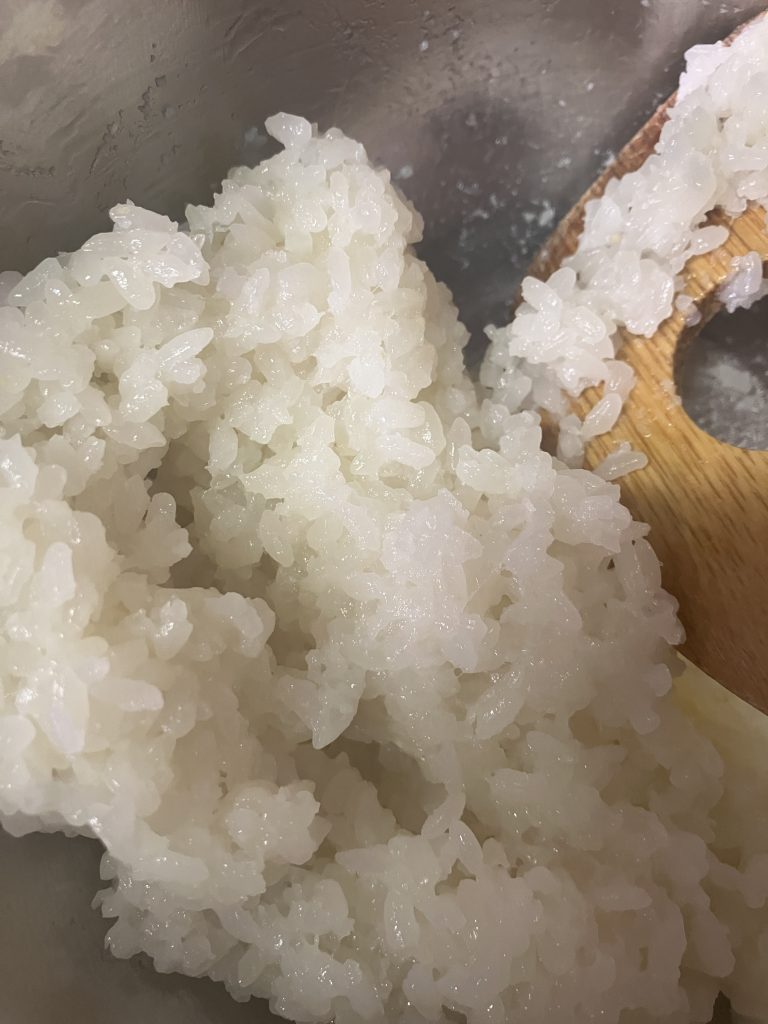
I prefer a texture where about half the rice grains remain intact.
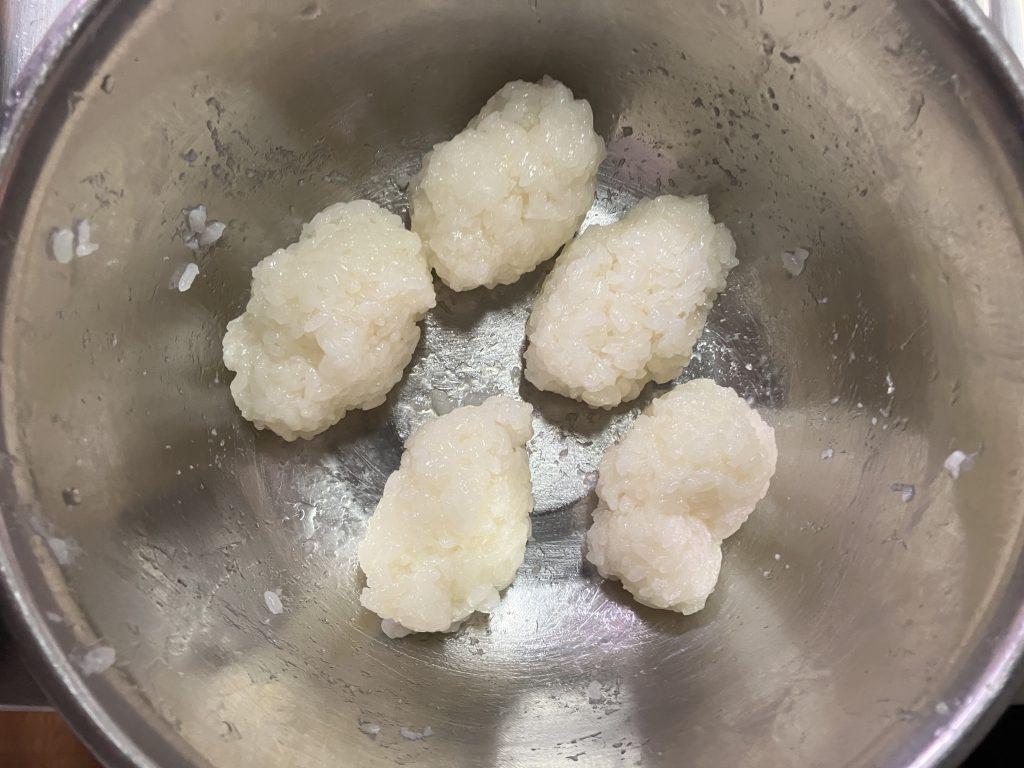
5. Shaping the Rice
Now, simply shape the rice into balls of your preferred size. Palm-sized portions are easy to eat. Wet your hands with water to prevent the rice from sticking.
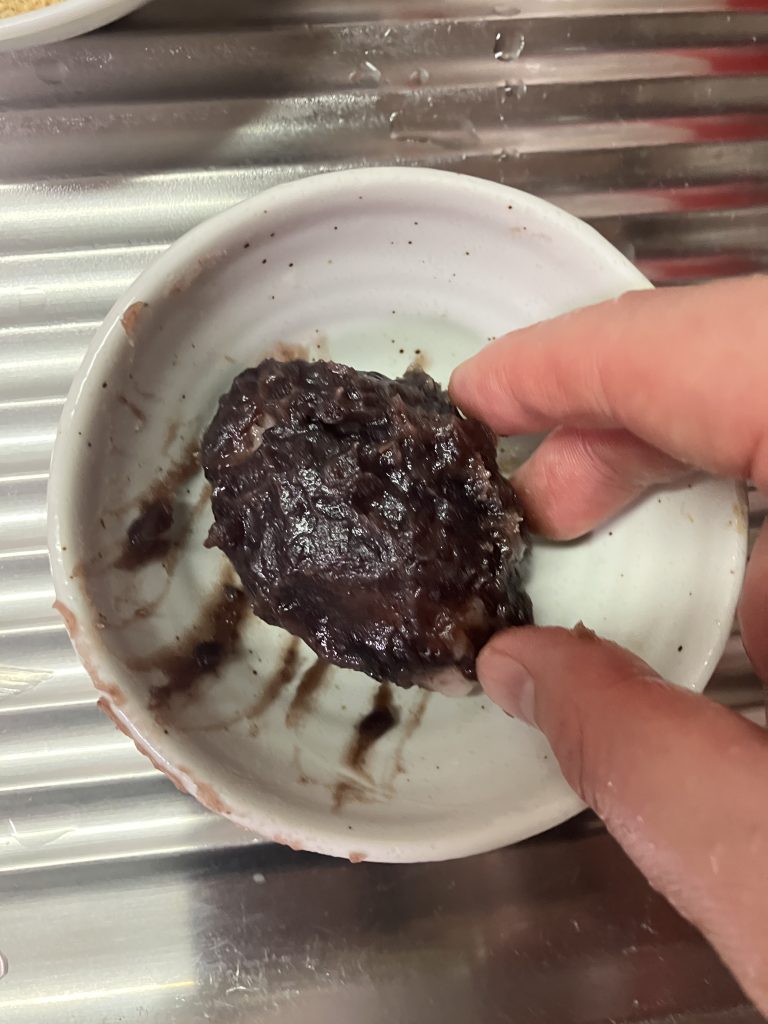
6. Coating with Anko
Finally, coat the rice balls with anko—and that’s it! It takes some time, but the process is quite simple.
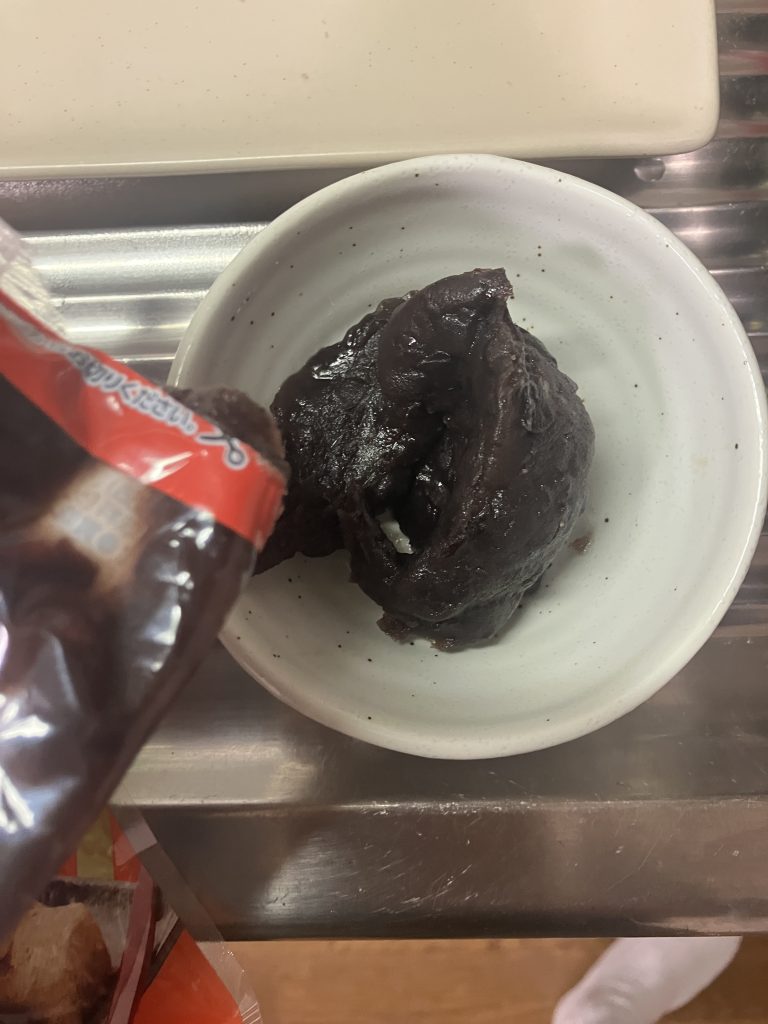
Here’s the anko I used. There are two main types: tsubuan (chunky) and koshian (smooth). Today, I used tsubuan.
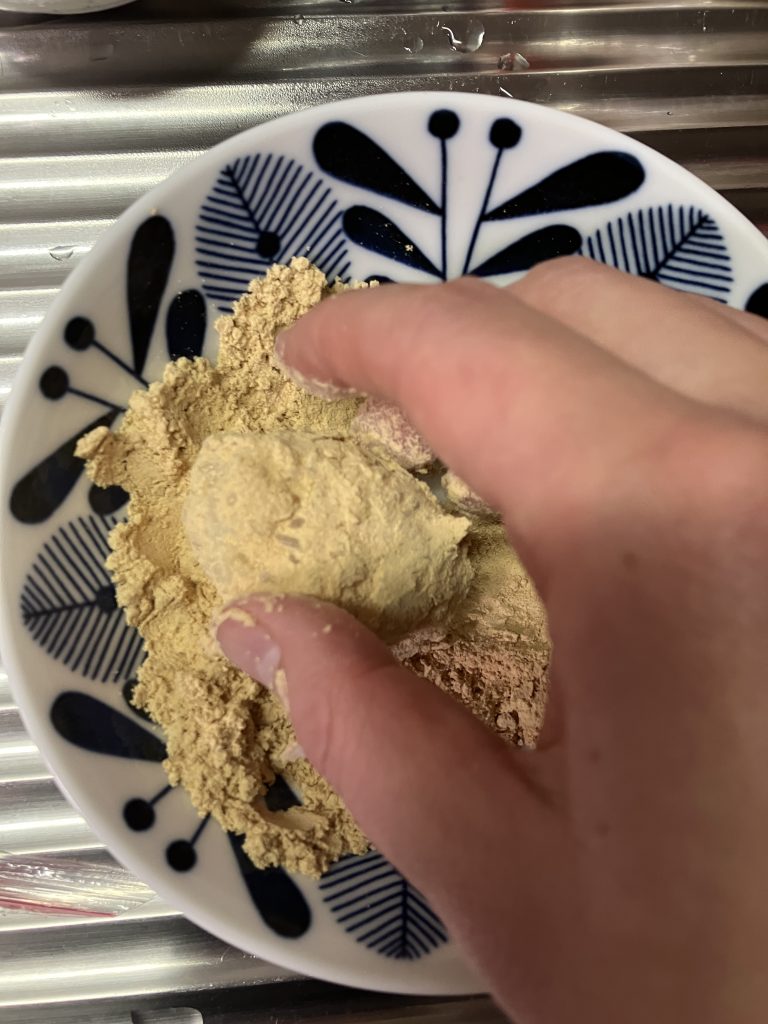
I also used kinako (roasted soybean flour), which is naturally sweet and goes well with rice-based desserts.
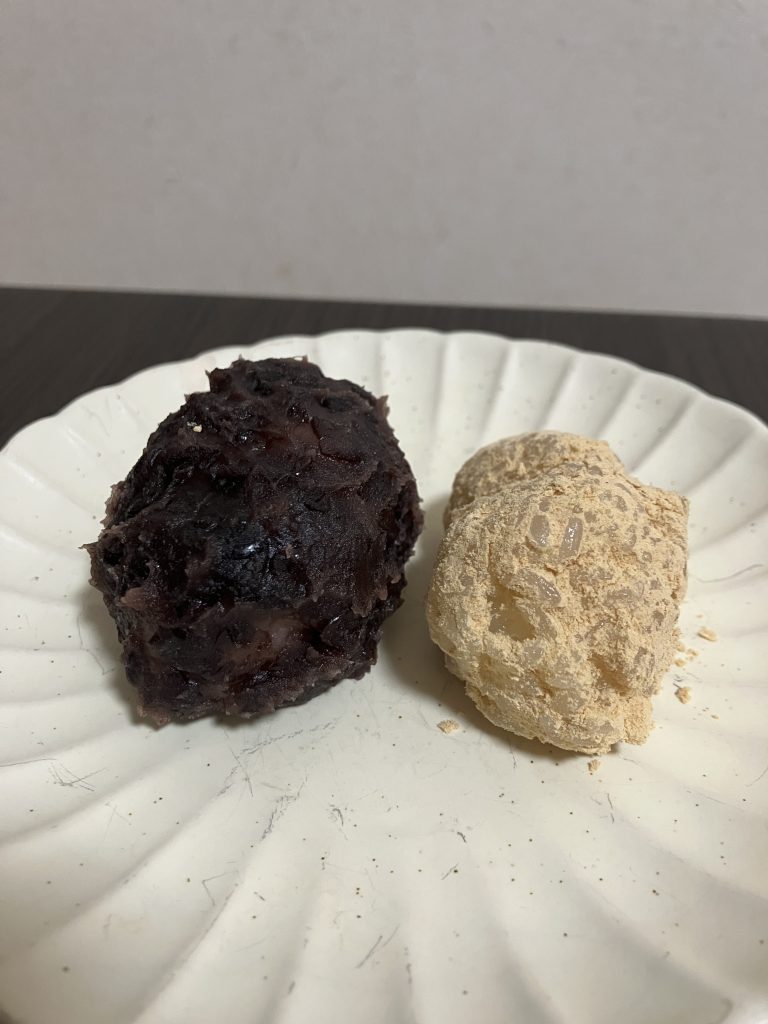
And here’s the final result!
The sizes are a bit inconsistent, but no worries—
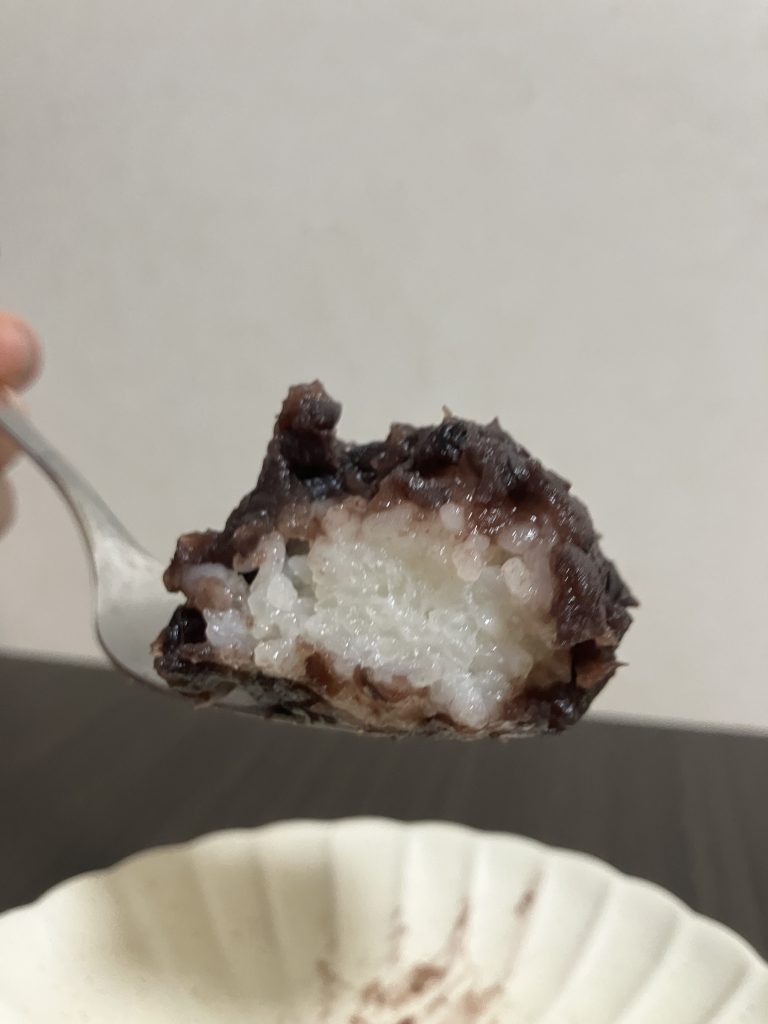
it still looks and tastes like real ohagi!
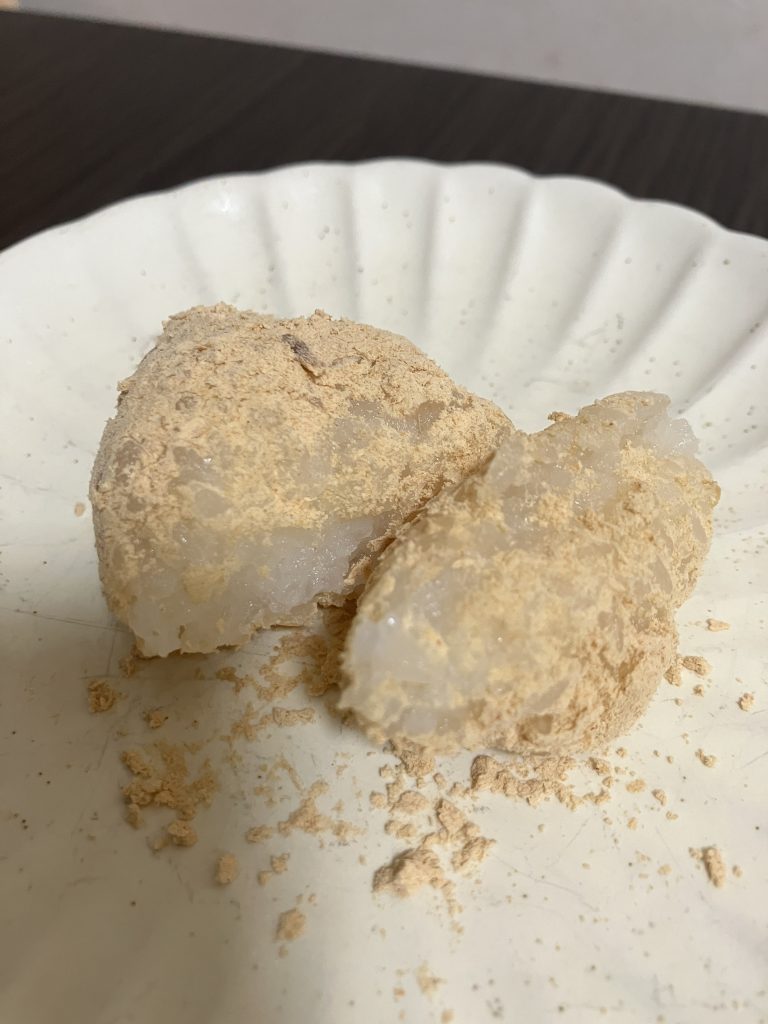
I thought kinako-flavored ohagi might actually be tastier than the regular one…
but then I had an idea!
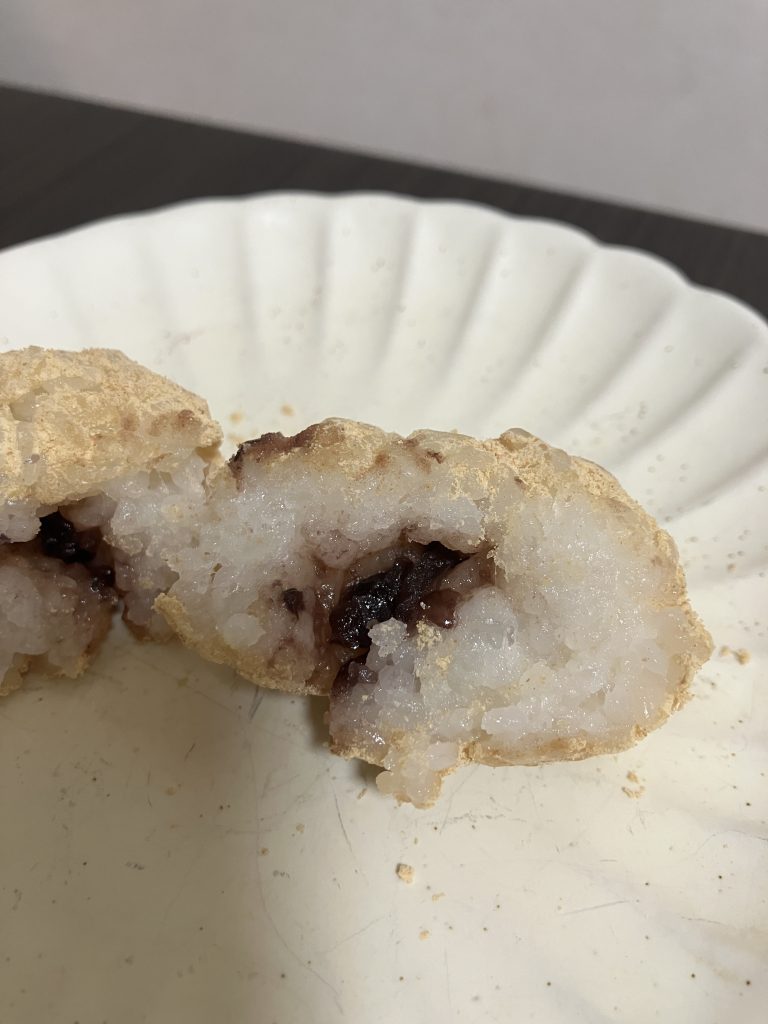
What if I put anko inside and coated the outside with kinako? I’ve never seen this before, but it might be a great new product!
Is this already a thing? If not, I highly recommend trying it out!

